Quality
At Creative Blow Mold Tooling, “We build it right. Every time. On time.”
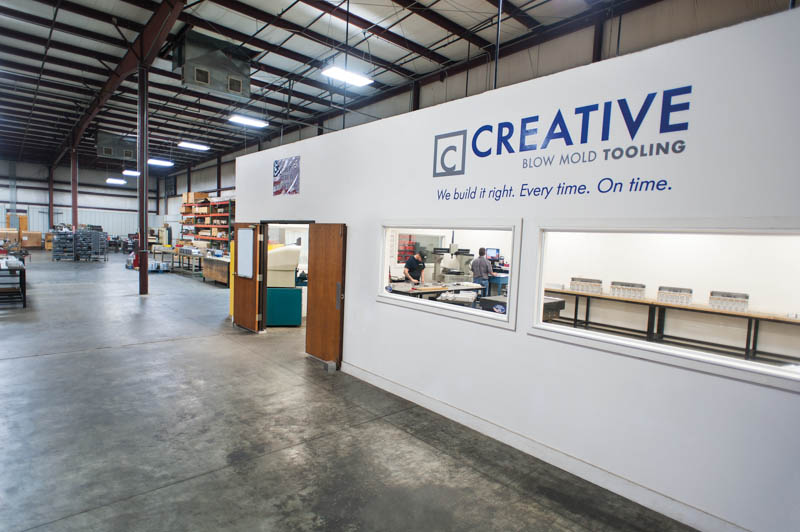
Pivotal to achieving the highest quality is our quality lab. This fully contained, environmentally-controlled facility is used by Creative’s personel to verify and document every mold and component we manufacture. Every quality inspection form/report for each part is immediately available in both electronic and hardcopy formats along with detailed inspection procedures and a full complement of project photos.
This quality inspection environment is open and available for our clients’ convenience. Customer inspections are scheduled regularly, providing a quiet, private environment for final inspections with our Creative team. Confidentiality is assured, protecting your intellectual property. All client project inspection forms/documents are filed in our Quality Lab for ready availability.
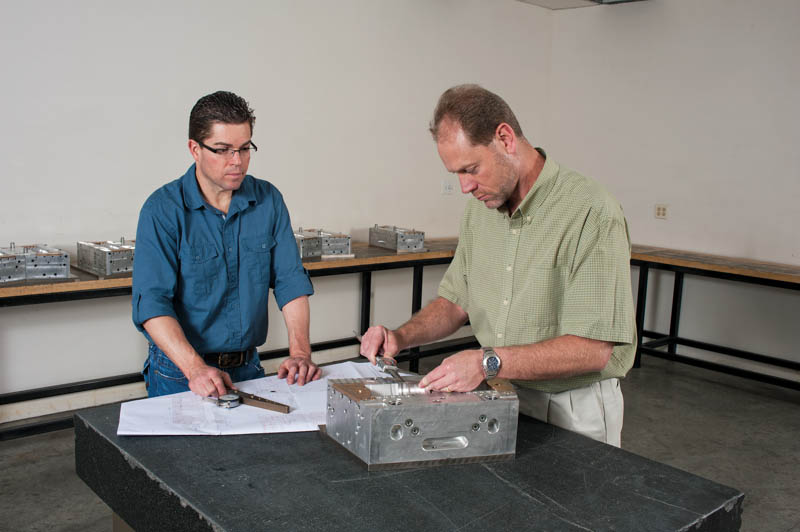
The Creative Quality Lab is designed to insure the quality of each machined parts for our customers. Creative engineers and lab technicians re-verify the accuracy of each component, before, during and after assembly of each blow mold manufactured. We perform and document first article inspection on all operations.
In a Lean Environment, Total Production Maintenance (TPM) focuses on routine and regularly scheduled maintenance. The benefits include: increased reliability, capacity without additional purchases, extending the product life and improved safety. During this regularly scheduled maintenance, Creative engineers and lab technicians compare the re-furbished manufactured tooling specs with the actual finished product, maintaining quality levels.
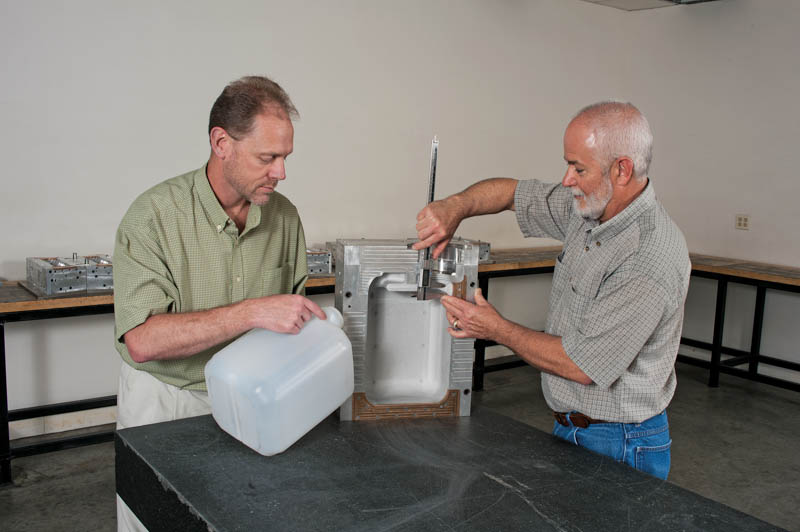
Final product inspections are made easy utilizing Creative’s Quality Lab. All assembled product is on display for a thorough final inspection by our customer. All inspection forms and documents are immediately available upon request to re-verify quality procedures.
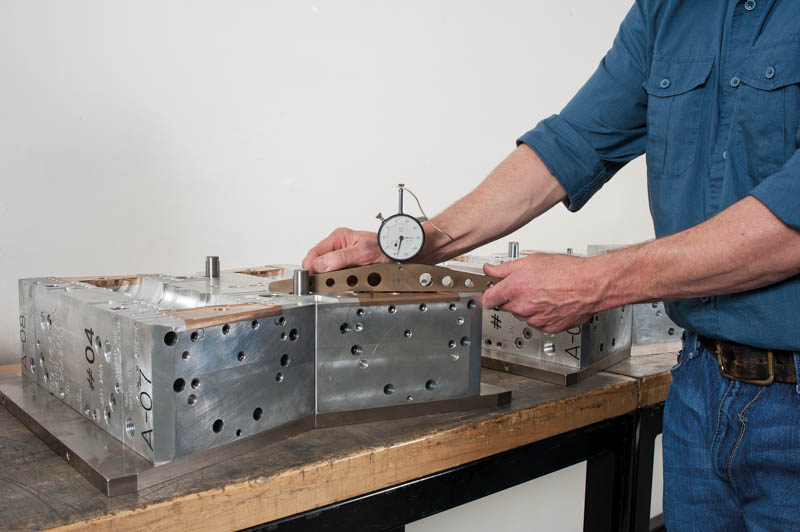
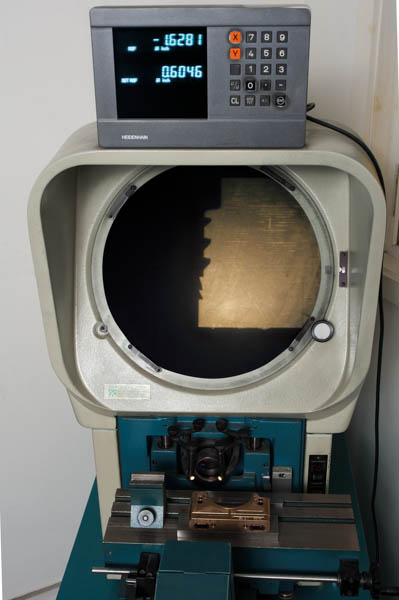
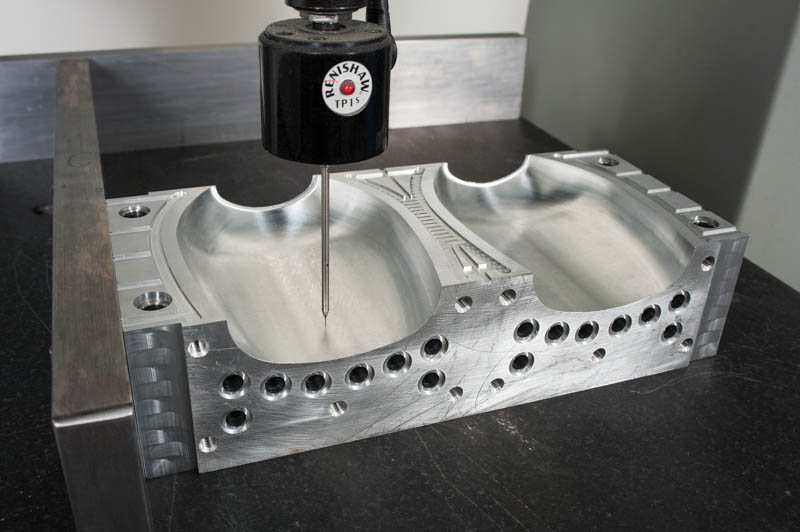
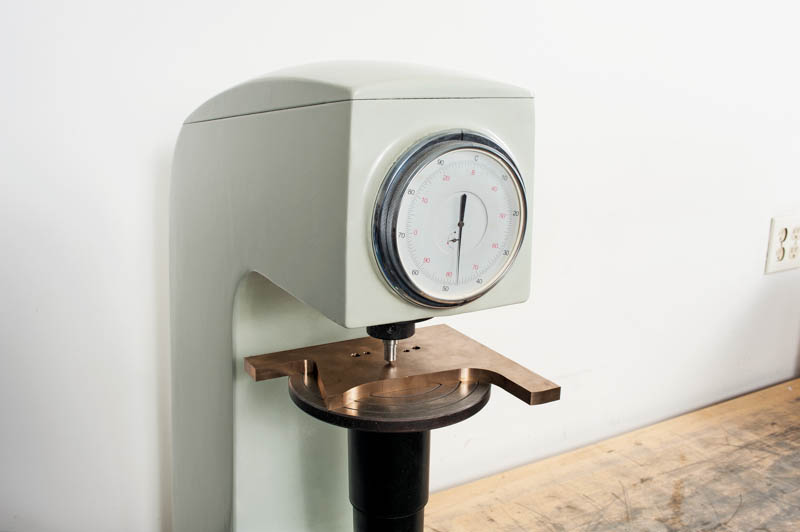
In the plastic manufacturing industry utilizing poly resins including, polypropylene, polycarbonate, PVC and HDPE, our Quality inspection lab includes state-of-the-art equipment-an optical comparator, coordinate measuring machine and other inspection tools and capabilities to document the accuracy of our quality standards.

